Recently, I have been contacted by the PR Relations Manager from Sleeklens, asking me if I would test and review their Through The Woods workflow. The agreement was that I would review the workflow honestly, without bias. As was already the case earlier (see my review of printing at zor.com), this decided me to accept the request. Here are my first impressions about the Through The Woods presets and brushes. To illustrate this post, I used a few images from one of my trips to Northern Aragon (Spain) and the French Pyrenees.

As mentioned in part 1, this post has been in my drafts folder for some time already. So prices that are mentioned below have probably changed in the meantime. After my previous post about printing my images at Authentic, I thought that it would be useful to describe my experience with a newcomer on the market for printing images in Belgium (and France). Zor.com is a new internet printer, specialized in direct printing on several types of boards in a relatively limited range of sizes. Where they differ from the many other printers available today on internet is their prices. Surprisingly low compared to their competition. They print on Dibond, acrylic glass, forex, carboard, and canvas.

I have written this post (and part 2) already some time ago but had not published them yet. Here it is at last. Be aware that prices that are mentioned might have changed in the meantime, of course. It has been some time that I have wanted to write a post about my experience with printing my images for exhibitions. As I had promised recently that I would write more about testing some techniques or material, I thought that it would be interesting to start with this part of my workflow as it is the one that is the most visible to the final viewer of my images. This is Part 1 and you can expect Part 2 very soon, with my test of another company for printing my images. For my very first exhibition a few years ago (Les Intrigantes), I was still optimistic and thought that I could get away with printing my pictures at one of the many general public printers available on the Internet today. I was convinced that the price would be low and hoped that the quality would be sufficient to satisfy my need for the best possible result. 
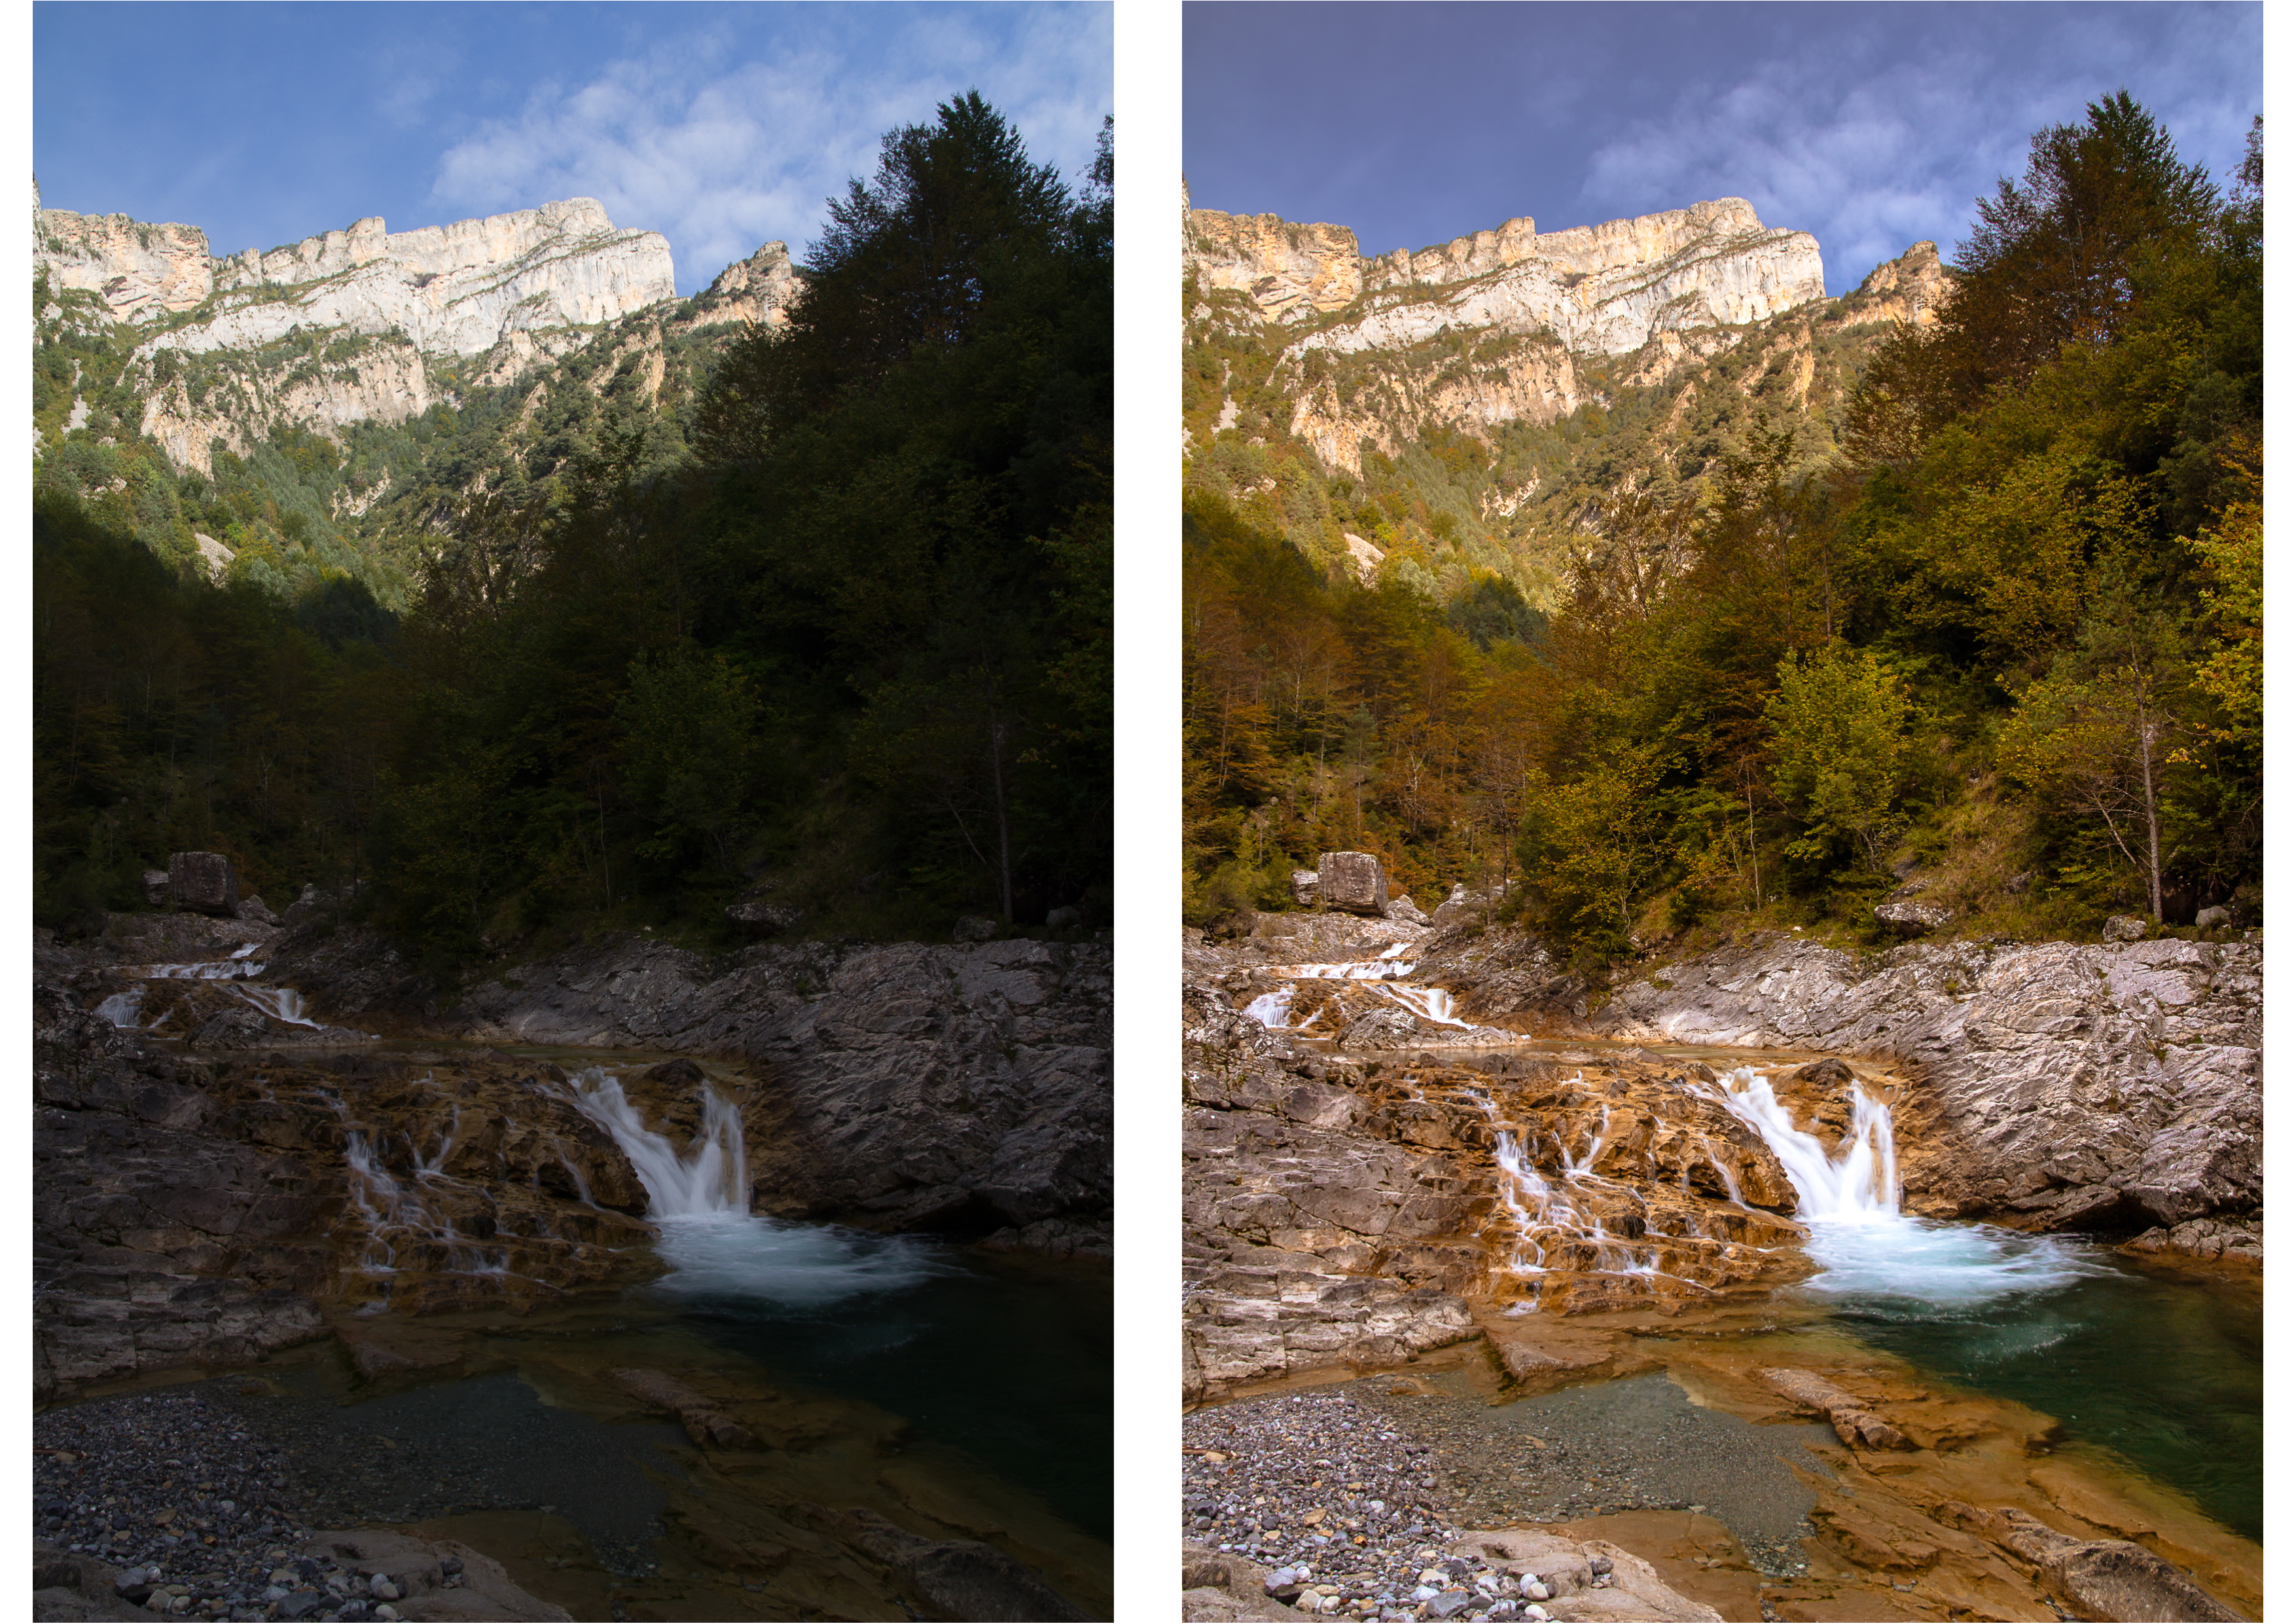
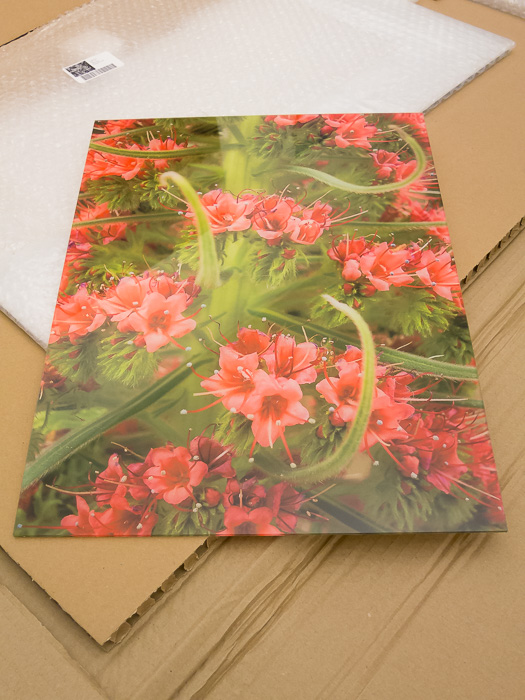
I should have known better... In the end, I needed to send my images in parallel to two different internet printers to get a result only approaching what I was expecting. Some prints were too red, others were too green, none were close to the colours I saw on my calibrated display at home. In the end, a very expensive exercise and very far away from the high quality I was striving for. So, I had to turn to a better quality printer to get what I wanted.

This post had been waiting in my drafts folder for a long time! Here it is published at last! After the recent announcement by Google that they would stop active development of Picasa Desktop, a lot of people are looking for an alternative to replace it without losing all their albums, keywords,... Good news for those who have been using Picasa Desktop to manage their pictures collection and want to switch to Lightroom: my plugin Lightroom to Picasa Importer is now available. You might have seen my previous post about my procedure to convert Picasa Desktop albums into Lightroom collections. Although this was working, I found that it was a really cumbersome procedure and I wanted to find an easier way to do it. So, after a lot of information gathering and research on the structure of the Picasa database, I had enough information to try and build a Lightroom plugin to do the work automatically. I decided to take the plunge and quickly learned how to code in Lua to be able to write a plugin for Lightroom.

Picasa icon arrow icon Lightroom icon

For sorting and classifying my pictures, I have been using Picasa for quite some time now. While I still believe that this is the fastest images manager that I have ever seen, it has some limitations and I have been thinking about using Adobe Lightroom instead. My only issue before switching to Lightroom was that I first had to make sure that I could import the numerous albums that I had created to sort my pictures in Picasa. With 40K+ pictures and several thousands sorted in albums, I could not afford to lose this information when switching to Lightroom. A related issue was that I had many star-rated pictures in Picasa that I also wanted to transfer. Neither Picasa nor Lightroom support this kind of transfer and I could not find any solution that suited me on the Internet. So I looked at the problem myself. Dissecting the required process into simple steps made it easier to find a solution. The rest of this post will describe how I did it.

With the winter 2010-2011 coming to a close, I wanted to show a few last pictures with snow before spring settled in. Here are a few images taken this winter, all of them converted to black and white from RAW files.

Natural patterns in the snow, close to La Hulpe, BelgiumNatural patterns in the snow, close to La Hulpe, BelgiumNatural patterns in the snow, close to La Hulpe, BelgiumArtificial patterns in the snow, created by skiers in Les Arcs, France

The first three ones were taken not far away from where I live with my Canon EOS reflex digital camera - nothing special there. The last one, taken during my ski holiday in Les Arcs (France), is a special case: this picture has been taken with my Canon Powershot A630 compact digital camera and was also converted from RAW to black and white. Wait a minute ! Many of you will probably think that I must be wrong: a Powershot A630 does not take RAW pictures ! Indeed, that is what I thought also until a few months ago when I discovered CHDK (Canon Hack Development Kit), a very potent and versatile (and free !) firmware update for many Canon compact digital cameras (Point & Shoot cameras).