09 May How I print my pictures (part 1)
I have written this post (and part 2) already some time ago but had not published them yet. Here it is at last. Be aware that prices that are mentioned might have changed in the meantime, of course.
It has been some time that I have wanted to write a post about my experience with printing my images for exhibitions. As I had promised recently that I would write more about testing some techniques or material, I thought that it would be interesting to start with this part of my workflow as it is the one that is the most visible to the final viewer of my images.
This is Part 1 and you can expect Part 2 very soon, with my test of another company for printing my images.
For my very first exhibition a few years ago (Les Intrigantes), I was still optimistic and thought that I could get away with printing my pictures at one of the many general public printers available on the Internet today. I was convinced that the price would be low and hoped that the quality would be sufficient to satisfy my need for the best possible result.
I should have known better… In the end, I needed to send my images in parallel to two different internet printers to get a result only approaching what I was expecting. Some prints were too red, others were too green, none were close to the colours I saw on my calibrated display at home. In the end, a very expensive exercise and very far away from the high quality I was striving for. So, I had to turn to a better quality printer to get what I wanted.
To prepare my participation to the contemporary art competition organized by the belgian TV channels RTBF and Canvas (see my previous posts about it), I needed to get the best possible prints of my images.
After my bitter experience with my first exhibition, I was looking for a printer who would:
- be located not too far from my home because I wanted to be able to meet the people doing the work and discuss my needs if necessary
- have some track record in printing high quality prints for professional photographers – I wanted to make sure that they would respect my work and take care of obtaining the best results possible
- be able to print on various papers for high quality prints or directly on Dibond – I wanted to be able to use the print directly without any further (expensive) mounting work
- use a fully controlled colour management system and workflow – with my screen at home being calibrated, I wanted to make sure that what I was seeing at home would also be the final result on the print
- have a good price/quality ratio – until now, I had only printed my images for myself, not for clients so I wanted to limit the costs
- have a fast service – I am always printing my pictures at the last minute…
- preferably have an easy interactive web interface for uploading images
- preferably be open on Saturdays – much easier for me to get there outside of my own working week. Otherwise, with an efficient delivery process
I did not even need a professional photography lab in the traditional sense. With the digital workflow that most photographers use today, there is no need anymore for extensive print work such as dodging/burning for example, as this is now done in the digital darkroom. So even a good printing professional would be fine, as long as he would provide excellent photo quality results.
My first step was to ask to several professional labs in Brussels for their prices for the same print size/type. I even contacted one of the many labs in Paris to compare its prices to ‘local’ ones. In the end, they were all relatively comparable, with about 20 % variation between the cheapest and most expensive. I was surprised to notice that most of them were actually (much) cheaper than Internet-based general public photo labs such as Foto.com or Pixum for the same type/size of prints. These are only cheaper for standard paper prints.
As alluded to earlier, my experience with these Internet-based labs was not very good, as I had had to send my images to several of them in parallel, to make sure that I would get at least one print with satisfying colours. They do not seem to have any colour management: even selecting the option (available from some of them) not to have my pictures modified did not change anything: the colours were almost always very far from the original image, with yellows turning to green or reds getting brown… So, with the prices of a professional lab cheaper than they were, I had no excuse anymore not to use a professional lab 😉
In the end, I chose Authentic for my first taste of professional printing. They do Artist Prints and I had seen that a photographer that I knew through his pictures (I forgot his name) had used them for his prints. Their website is very nice, allowing you to get an online instant price offer based on the size and material that you want for your print. They use a calibrated workflow and their upload server automatically recognizes the ICC profile that you attach to your files. Using their uploading system went smoothly, with very useful interactive help along the whole process. Within a few minutes, my three files (each about 25 Mb) were uploaded and ready for entering their workflow. You may choose the size, resolution, material, mount, and hanging system for each of your image independently. You can also have labels printed and pasted on the back of your picture (free of charge). you can also leave a comment if you have specific requirements for your image. And you have the possibility of receiving a proof, either on paper (by mail) or electronically (a calibrated jpg, you need a calibrated screen to use this option reliably).
It is even possible to go to the workshop and sign on your print before the final mount.
My order was originally for three 60×90 cm prints on Fuji paper mounted on 3 mm thick Dibond. As I had asked (in the comments) to get a ‘luminous result’, I was contacted by Mr Van Rossem to propose some changes to my initial order to obtain the best result. The price was about 25 % more expensive but he convinced me that it would give me a result closer to my wishes. In the end, I went for the same size but on Fujiflex paper, with a Diasec finish and mounted on 3 mm thick Dibond. At 201 Eur a piece (taxes included), this was certainly not cheap but I wanted to put all chances on my side for the competition that I wanted to enter.
The next working day, I received an email with the detailed planning for my prints. At each step of the process, I received an email showing the next steps and what I had to do, such as approve the handling and delivery charges, approve the softproof that I had asked for, or make a payment – an unavoidable step in the process :-). The planning was very precise and this was very useful to plan when I would go to the workshop itself to get my prints. In the end, they were ready a little bit earlier than planned! It took less than two working weeks to have my prints ready: I ordered on a Sunday evening, received the planning on the Monday, had some additional discussion about my order on the Tuesday and the prints were available for me a week later, on Thursday afternoon. Another print that I had ordered at the same time with another finish (Direct print on 3 mm thick Dibond) was ready much faster, in only 4 days (order on Sunday evening, ready by the following Thursday).
When I went to collect my prints, I had the pleasure to meet Mr Van Rossem, who had given me advice on the choice of print quality. He showed me the final result: my valuable prints! And what prints they were! Superb! I was really very impressed by the quality and ‘lightness’ of the Diasec finish. Not only did it give depth to my prints but they looked like they were glowing from the inside. The luminosity that I was looking for was indeed there. For the first time, my prints were printed as I had always wanted them to be.
I have no pictures of these prints available right now to show them but believe me, they were perfect.
What about my direct print on Dibond ?
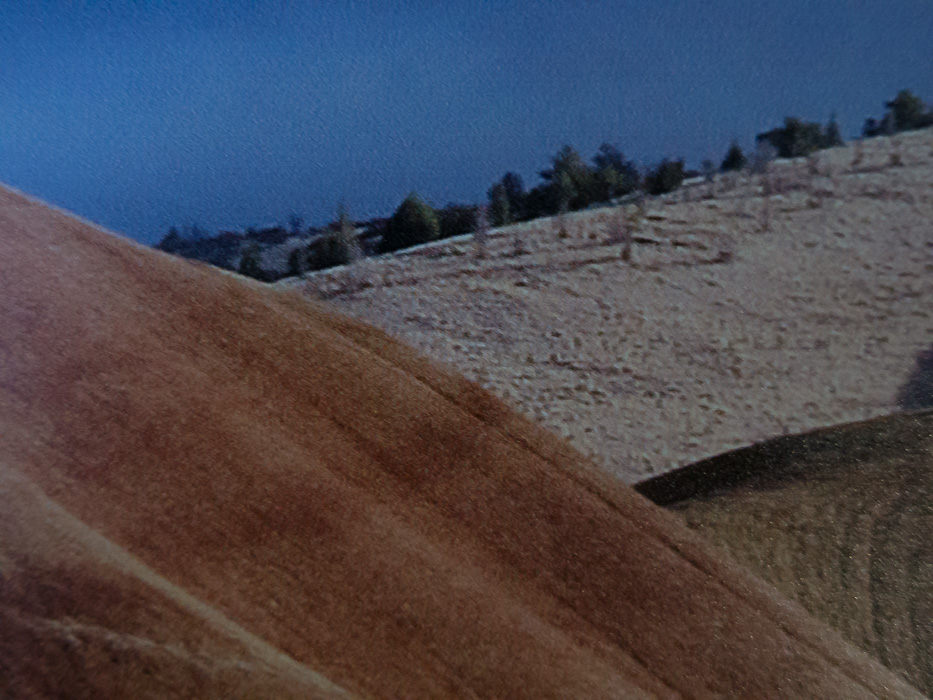
It was a 180×60 cm 300 dpi print of the image below, taken in the Painted Hills of Oregon, just after a shower at the beginning of autumn. This panoramic image is a combination of 7 vertical images, with a final resolution of 9300×3100. More than enough for a good 180×60 cm print.
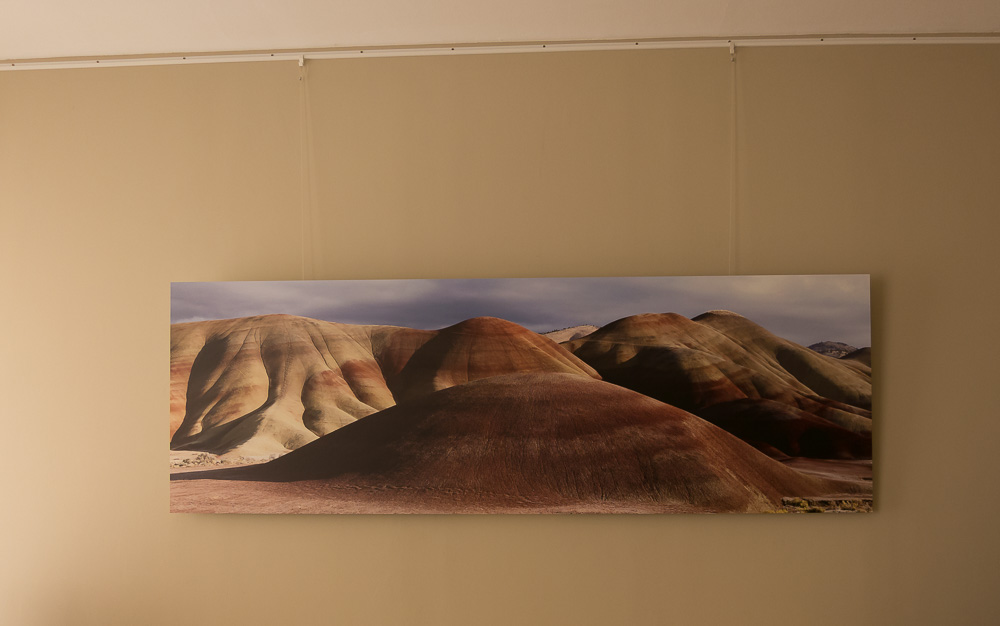
Large size direct print on Dibond (180×60 cm)
I did not expect too much of a direct print on Dibond as I knew that the quality is not supposed to be the same as a print on glossy paper: Dibond prints have a matt or rather satin finish. But I was pleasantly surprised by the result.
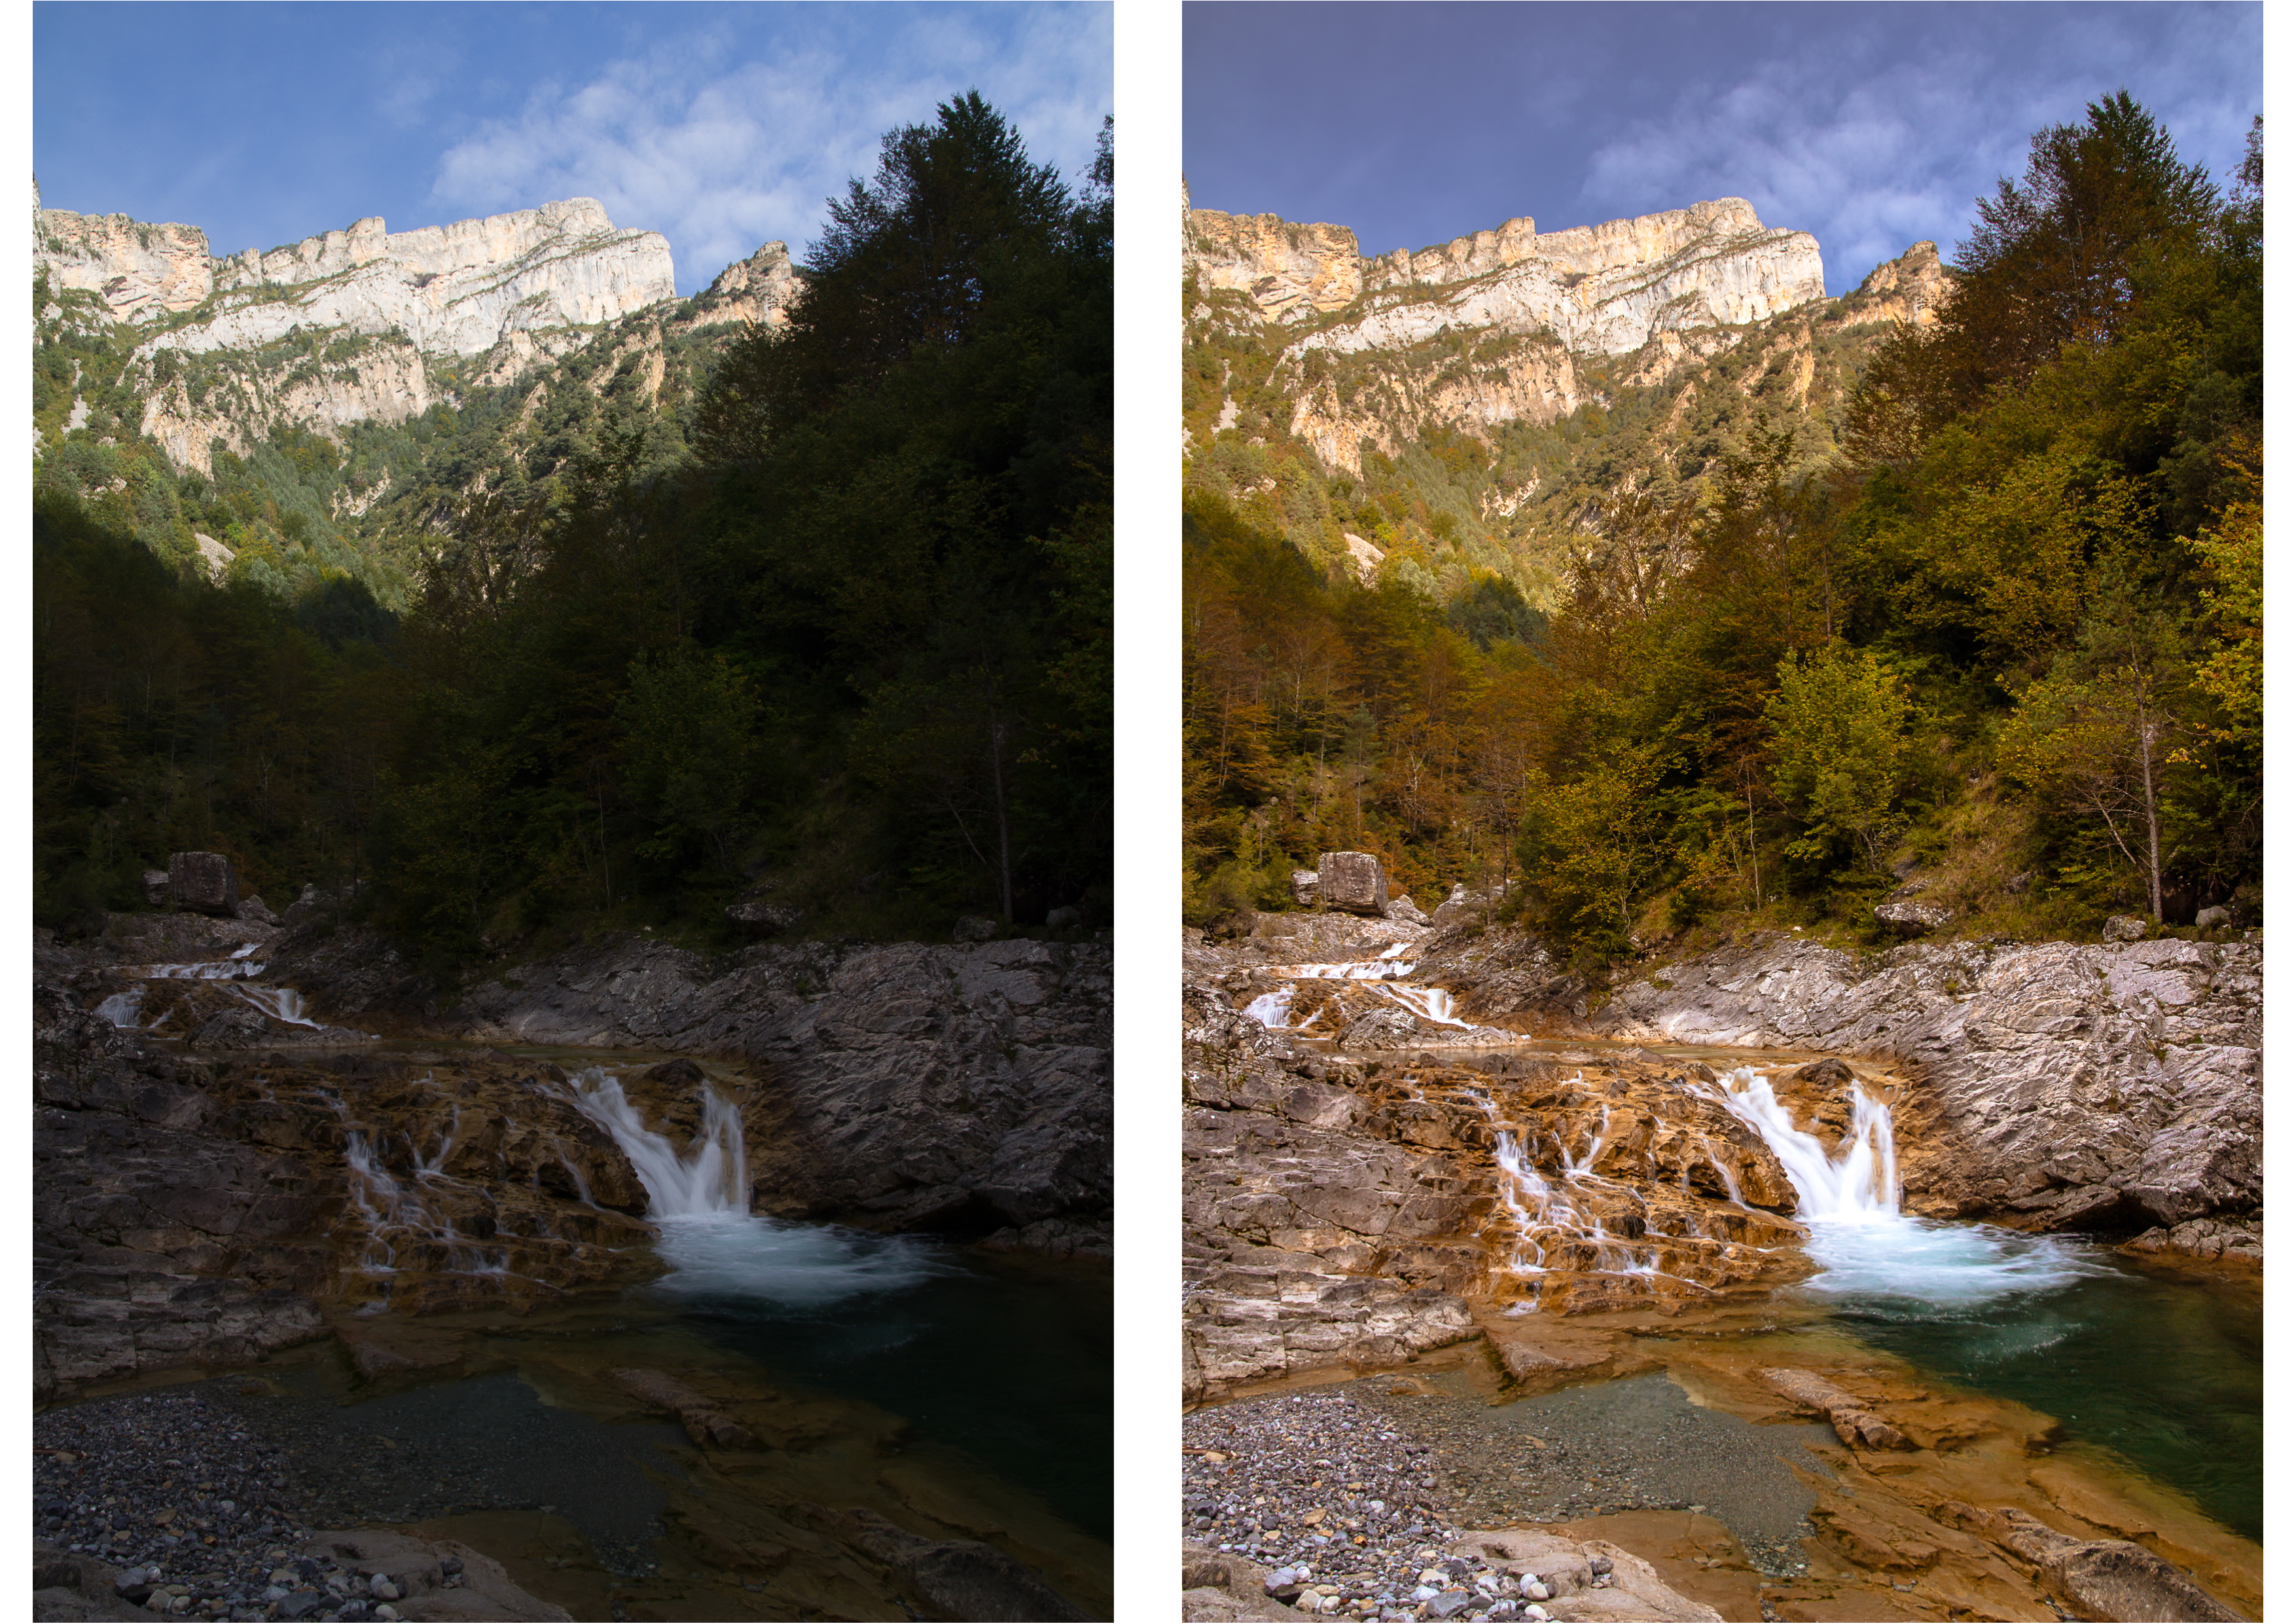
As for my Diasec prints, the colours were exactly the ones that I had seen on my screen. It just shows how important calibration of the screen and the whole workflow is!
With this printing process, very soft gradation in colours can probably not be expected. And indeed, small spots of alternate colours could be seen in the sky when looking very closely at the print. The details were otherwise very good.
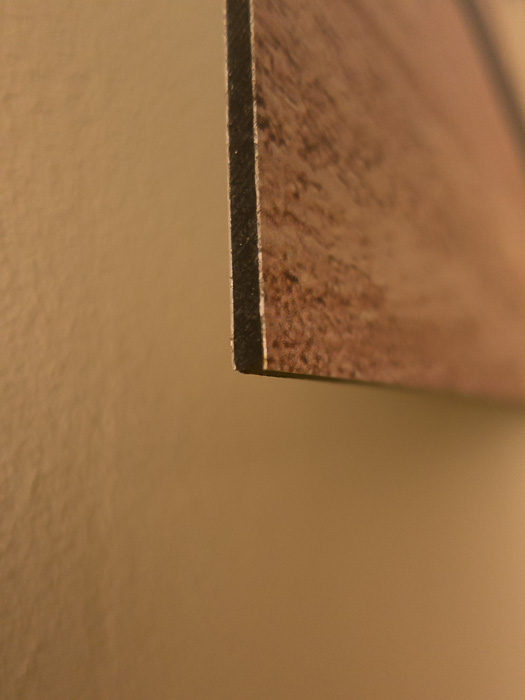
Details of the Dibond direct print – perfectly machined
Enlargement of a small area of a large size Dibond print

Enlargement of a small area of a large size Dibond print
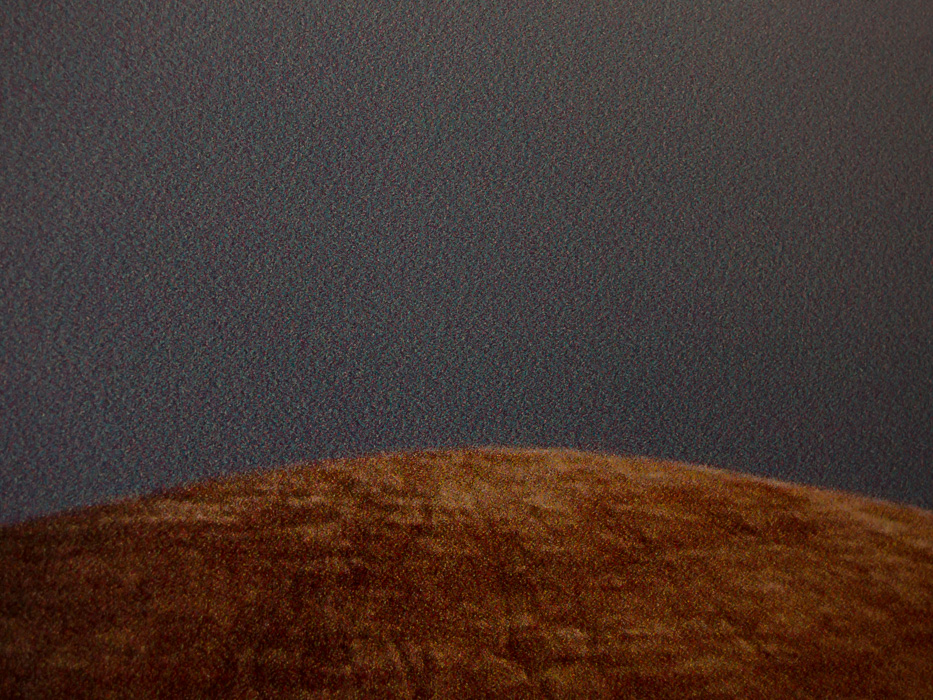
Direct print on Dibond – Seen from very close
And in the end, it is a very good print when looking at it from a normal viewing distance. The rigidity of the Dibond makes it ideal for self-supported images, no need for a frame. And you can think big: prints on Dibond are available up to 300×200 cm!
Since this first test, I have printed many images on Dibond at Authentic, especially for my exhibitions for which I needed to print 10-20 images while still keeping it affordable for me!
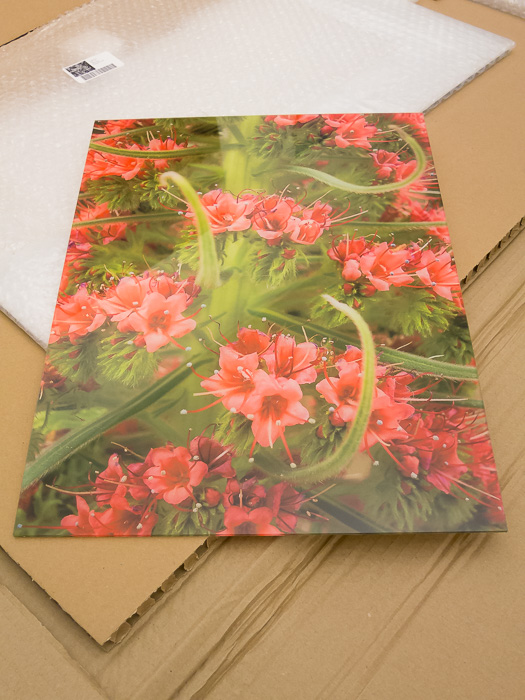
Each time, the quality was excellent. Only in one case, two of my Dibond prints were covered with ink spots, probably due to rushing the work just before Christmas. But they immediately replaced the two prints with new versions free of charge, of course.
You can see additional examples of the end result below.
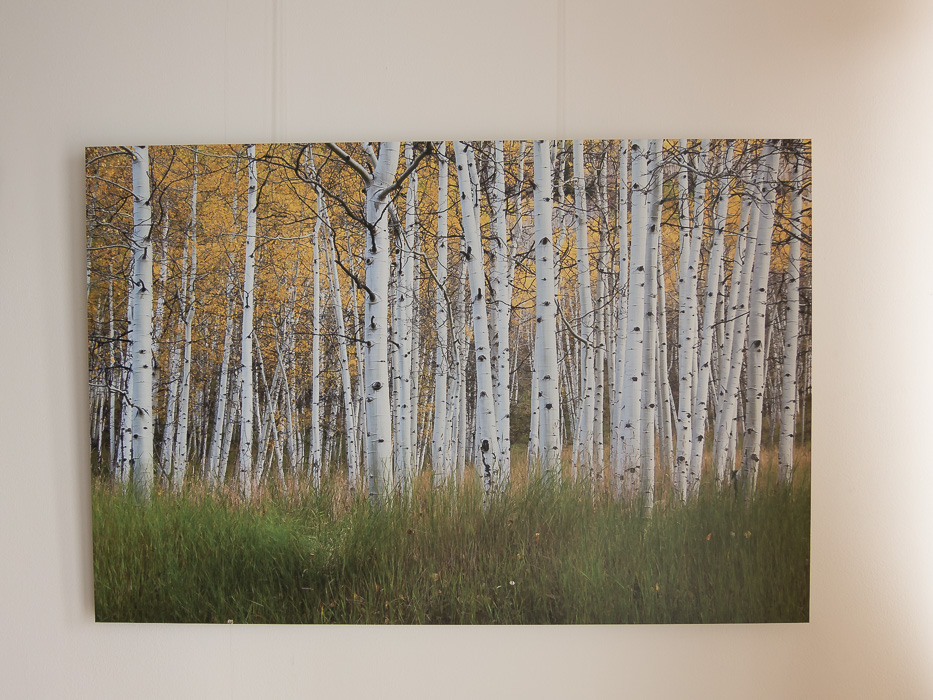
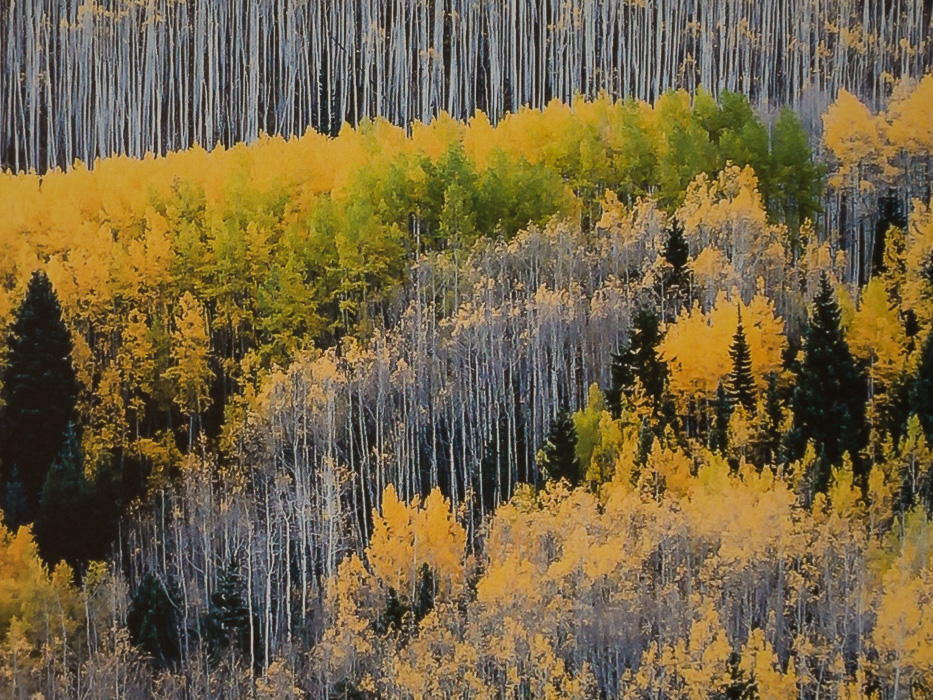
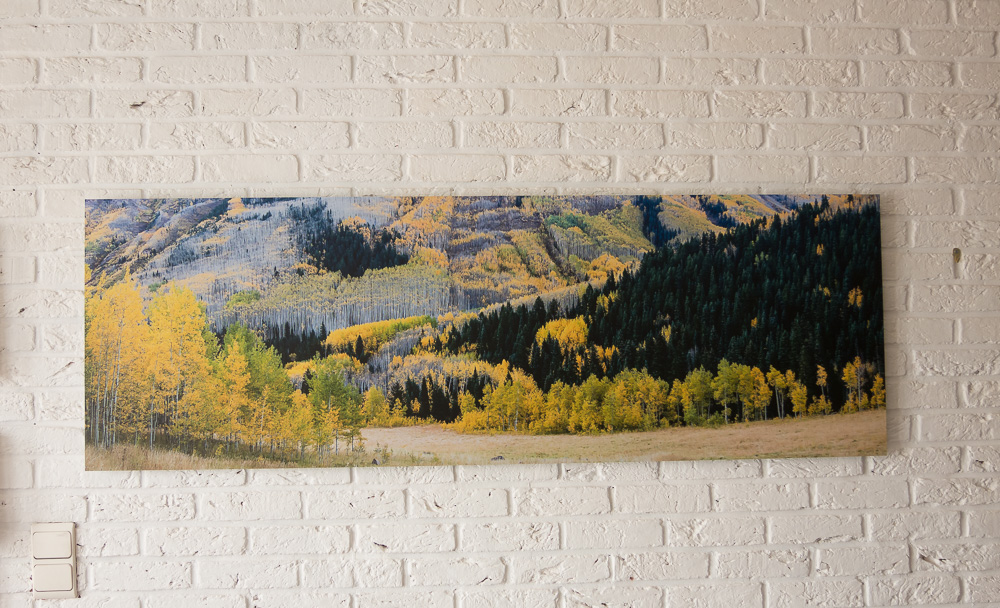
Aspens colours – Dibond direct print (90×60 cm)
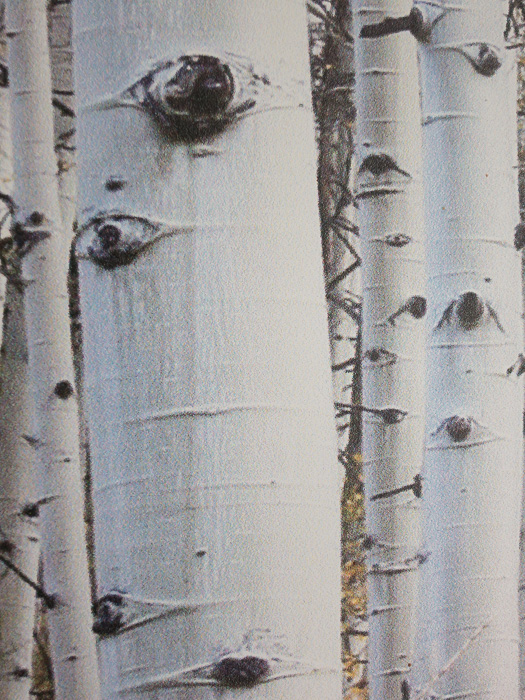
Aspens colours – Details of the Dibond direct print

Aspens colours – Details of the Dibond direct print
Maroon Creek valley, near Aspen, CO – Direct print on Dibond (150×50 cm)
Maroon Creek valley, near Aspen, CO – Details of the Dibond print
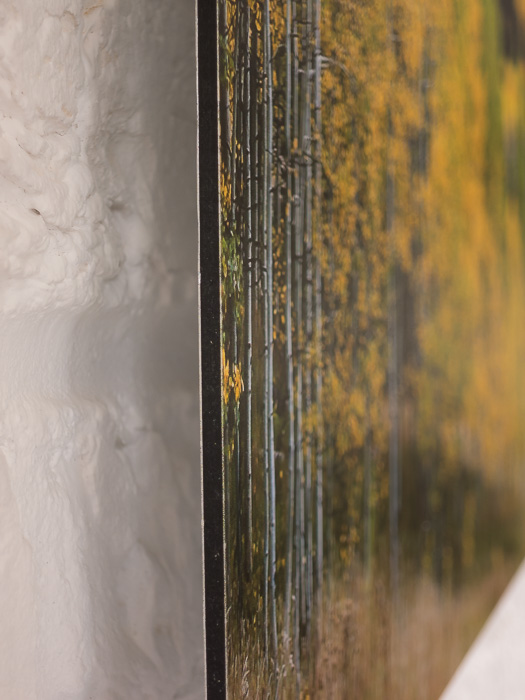
Maroon Creek valley, near Aspen, CO – View of the edge of the Dibond print
One thing that I tried and that was not very successful was a black and white print on Dibond. I am no black and white specialist so the disappointing result (very strong contrast, almost no greys) could have been partly due to me. But I have since printed black and white images elsewhere (more on that in a future post) with very good results. So I think that this was simply due to the fact that the direct print process manages to render very good colours but is not able to print shades of grey very well.
In short, Authentic is for me an excellent choice for printing my images. The only thing I miss is them to be open on Saturday, to allow me to get my prints without having to take a day off.
I can only give you one advice if you are looking for high quality printing: try them!

No Comments